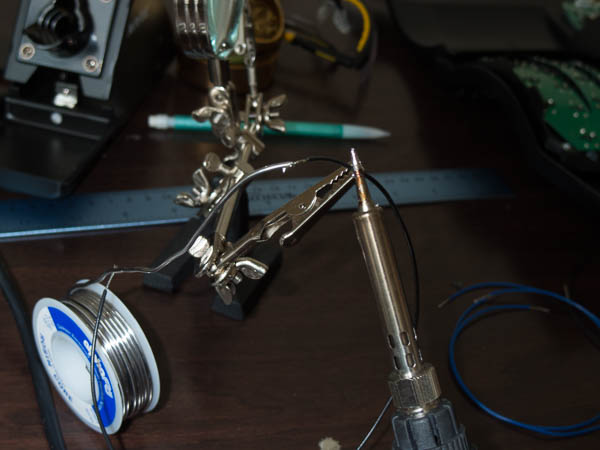
A Here’s the list of tools I used during the Kinesis mod.
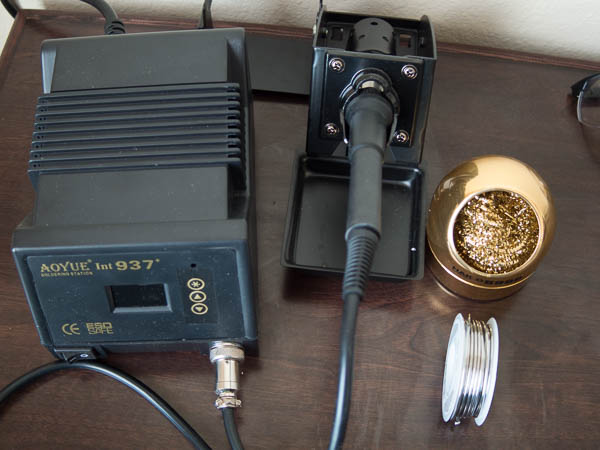
Soldering Station
complete soldering station is over-kill for a mod this simple, but
oldering the wires helps by adding some extra rigidity.
Figure 1: The soldering station I used.
Figure 2: The sandpaper is used to finish the holes for the buttons.
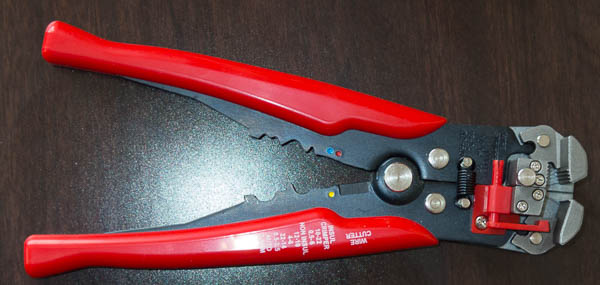
Figure 3: The wire stripper.
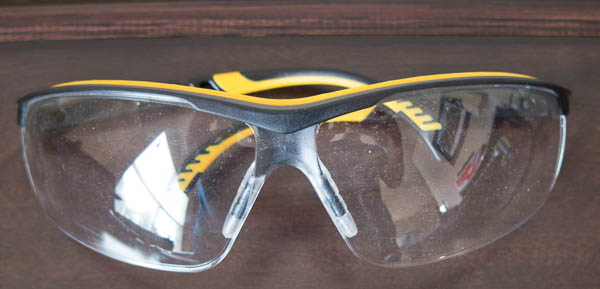
Figure 4: The eye protection I used.
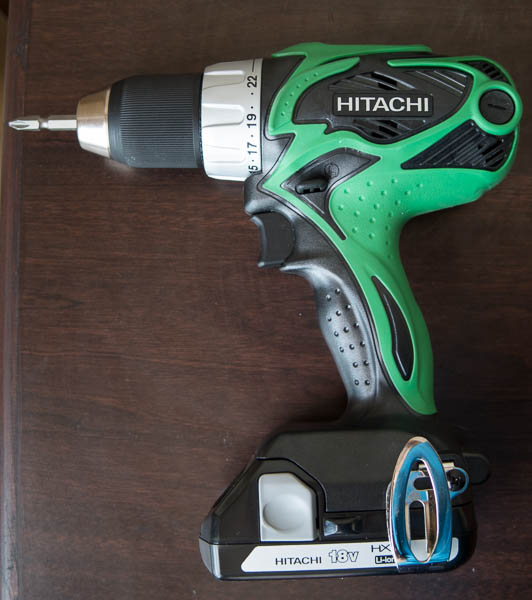
Figure 5: The drill to use.
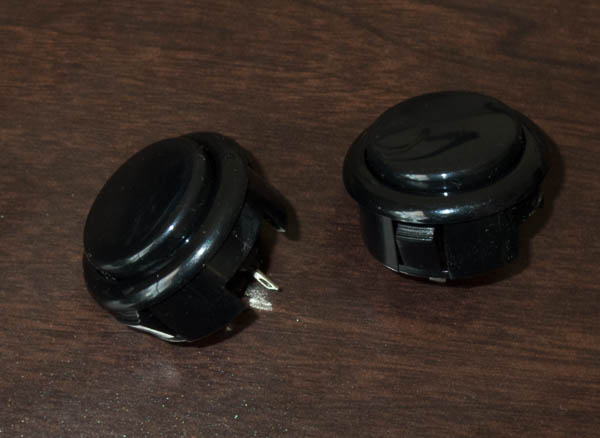
Figure 6: The buttons to use for the extra keys.
Remove Back Cover
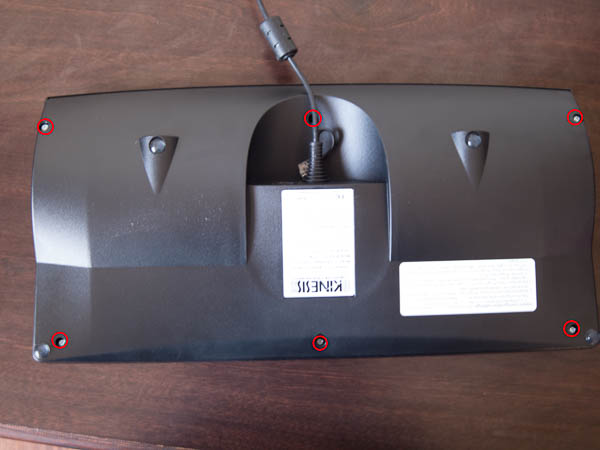
emove the back cover and unscrew the six screws.
Figure 7: The back of the Kinesis Keyboard with the screws highlighted.
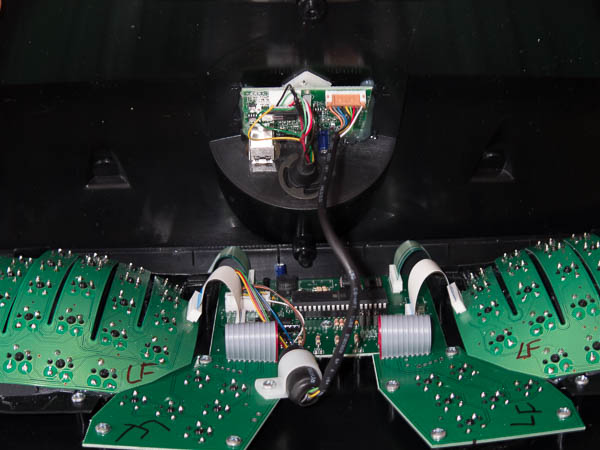
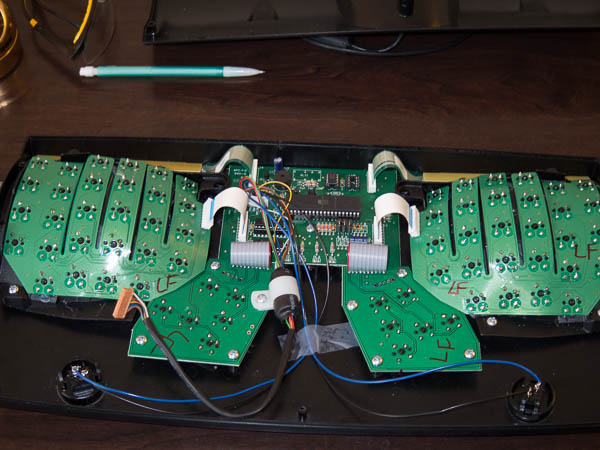
Figure 8: The inside of the kinesis keyboard, including both the top and bottom.
Measure and Mark Button Placement
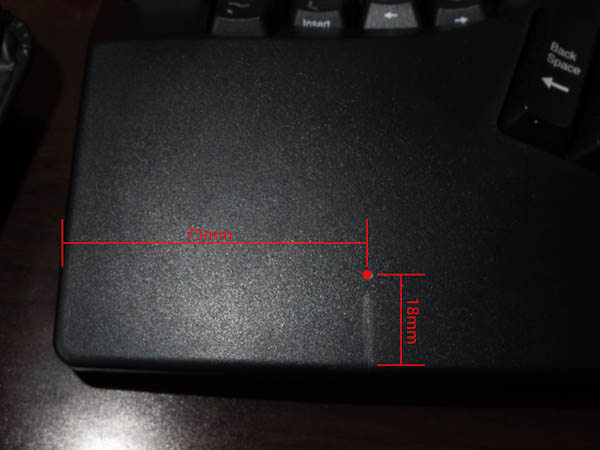
placed the buttons about 75mm (2 15/16in) from the edge and 18mm
11/16in) from the bottom. You should tweak the location to best fit
our hand placement. Place the button underneath the meaty portion of
our palm.
Figure 9: The Kinesis button placement markings for the left side.
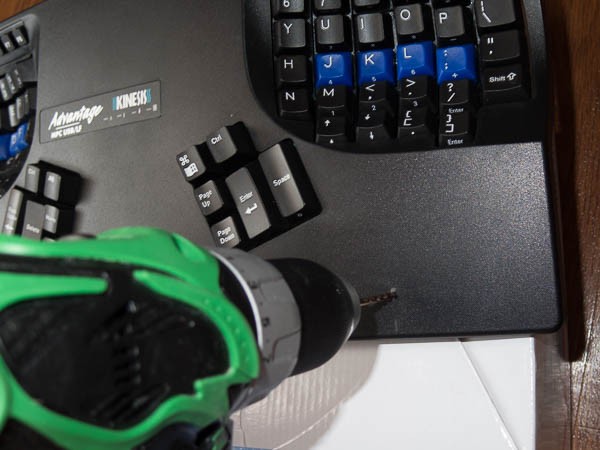
Drilling
Figure 10: Drilling the pilot hole before drilling the circular hole.
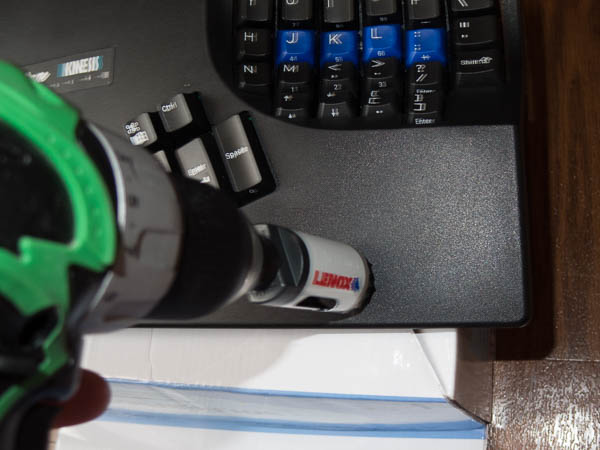
Figure 11: Using the pilot hole to complete the circular hole.
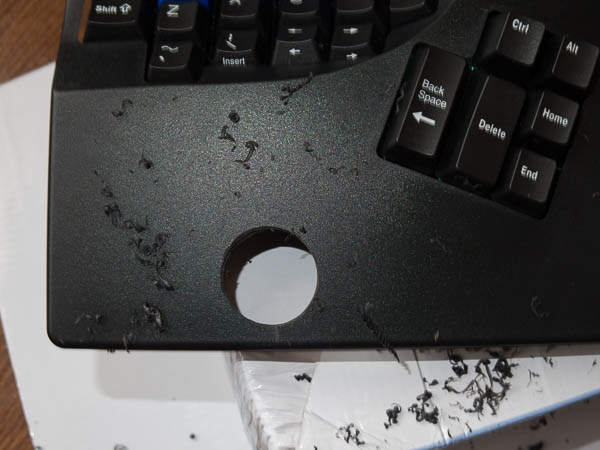
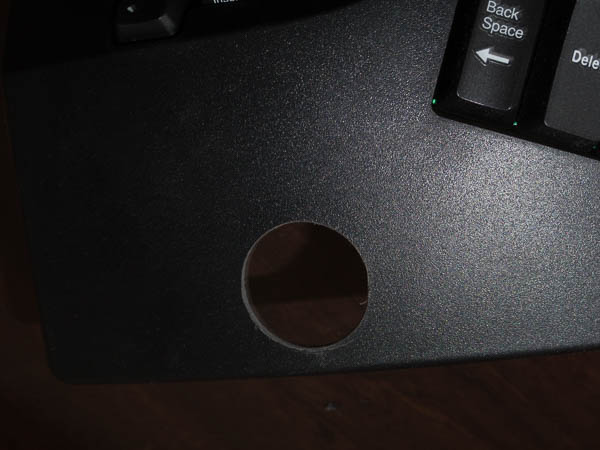
Figure 12: The Kinesis Keyboard immediately after drilling the ciruclar hole.
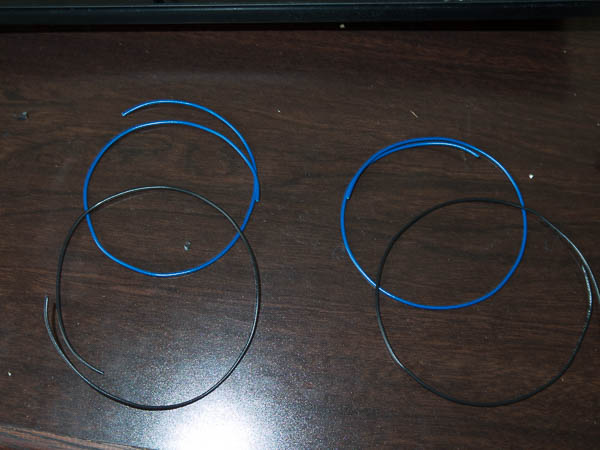
Prep Wires
Figure 14: The length of wire I used.
Figure 15: Preparing the wires to insert into the keyboard.
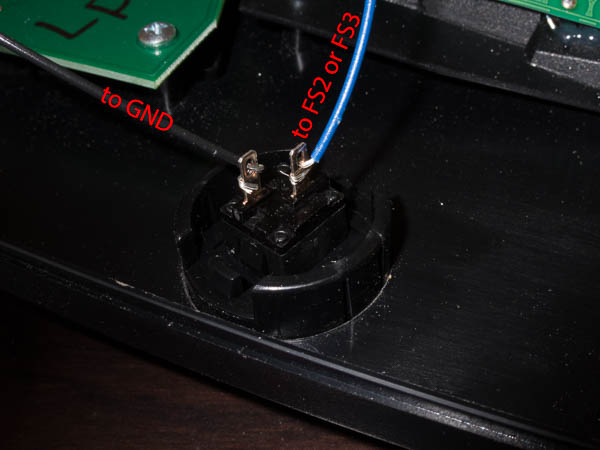
Attach Wires
Figure 16: Attaching the wires to the buttons.
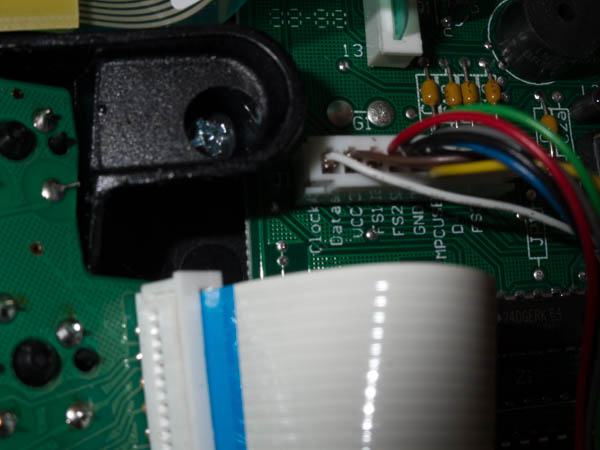
Figure 17: Detail view of the pin layout for the Kinesis keyboard.